Choosing hardwood flooring is a lasting investment. It’s not only a design upgrade but also a valuable addition to your home. This kind of flooring brings a lasting change that reshapes the way you feel and function in your space. That kind of transformation comes with noise, dust, time, and tough decisions. Most people underestimate the effort it takes, which leads to stress later. Knowing what’s coming makes the process smoother, more precise, and rewarding.
Key Steps in a Hardwood Flooring Installation
Hardwood flooring is built layer by layer, decision by decision. Each step in the process shapes how your floor looks, feels, and holds up over time. Understanding the flow of installation helps you spot red flags early and stay one step ahead. Knowing what happens at each phase gives you the clarity to plan better, communicate smarter, and avoid costly missteps.
Preparing for a Hardwood Flooring Installation
Getting ready for a hardwood floor project takes more than picking a color. The groundwork begins days or even weeks before the first board is laid. From inspecting the subfloor to clearing out your furniture, there’s a lot to cover. Proper planning avoids delays, extra costs, and wasted time.
Assess Your Space and Subfloor Conditions
Flooring installers must thoroughly check the subfloor before laying any boards. They will inspect for moisture, dips, warping, or mold. Uneven spots must be sanded or leveled with a compound. If it’s concrete, they may need to apply a moisture barrier. Skipping this part risks creaks, gaps, or future damage. A sound subfloor sets the stage for a firm, long-lasting hardwood surface.
Choose the Right Hardwood for Your Lifestyle
Not every hardwood is the same. Solid wood offers tradition, but engineered wood is more suitable for humid climates. You’ll also need to choose between prefinished and site-finished boards. Prefinished planks come ready to install, while site-finished floors allow for custom staining. Consider foot traffic, pets, and sunlight when selecting wood species and finishes to ensure optimal durability and appearance. Oak, maple, and hickory handle daily wear better than softer woods like cherry.
What to Do Before Installers Arrive
Your home should be as ready as your floors. Move furniture, rugs, and anything fragile from the room. Don’t forget closets, entryways, or transition spaces. Make sure pets and kids are safely out of the way. If you work from home, consider how noise and access to resources might impact your routine. Discuss your project details with your flooring contractor to confirm schedules, entry points, and expectations upfront.
Starting the Hardwood Flooring Installation Process
The actual flooring installation involves more than just nailing boards in place. Installers bring the necessary tools, materials, and a workflow tailored to your space and flooring type. Every step has a reason, from acclimating the wood to sealing the final seam. Staying informed during each phase helps you feel more in control.
Delivery and Acclimation of Materials
Wood flooring needs time to adjust to your home. Installers usually deliver it three to five days before starting. That allows the wood to expand or contract based on indoor humidity. Skipping acclimation often leads to buckling or gaps later. Keep your heating or cooling system running as usual. The wood needs a stable environment to settle before being nailed down.
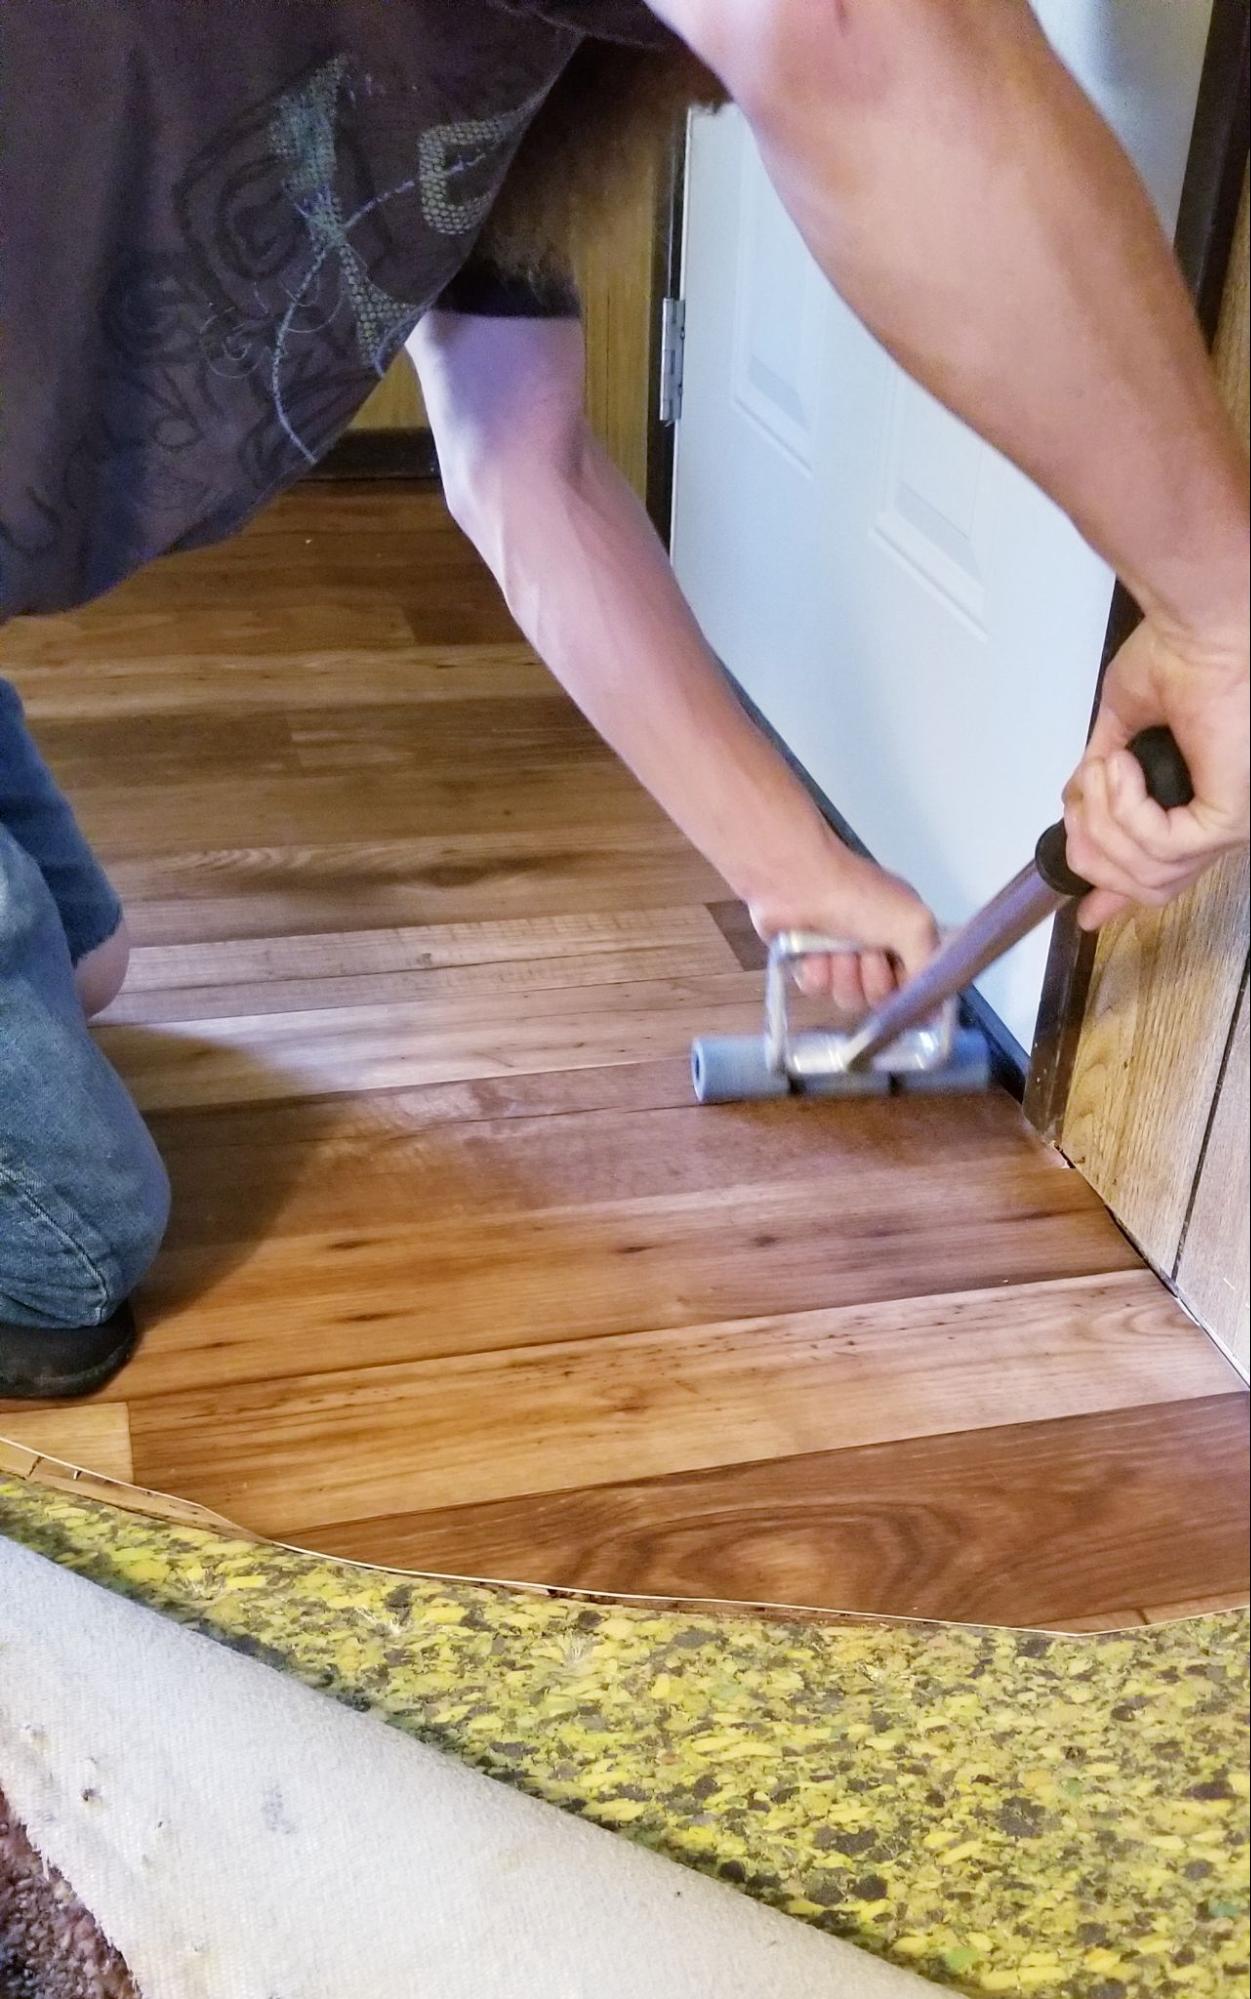
Installation Methods Explained
There are several methods for installing hardwood, and your subfloor typically determines the most suitable approach. Nailing down is common with wood subfloors and provides a tight, permanent hold. Glue-down is often used over concrete and creates a strong bond. Floating floors aren’t attached to the subfloor at all and rely on interlocking planks. Each method requires different tools and prep work. Your installer will choose the one that suits both the wood and the foundation.

Daily Workflow and Timeline
Most flooring crews follow a predictable daily rhythm. The first day is often setup and layout planning. Next comes the underlayment, followed by laying the planks in rows. The speed depends on the size of the space and the complexity of the layout. A single room might take a couple of days. Larger homes or intricate patterns, such as herringbone, will add time.
Navigating Challenges During Hardwood Flooring Installation
No two homes are the same, and flooring jobs often uncover surprises. Old subfloors can hide mold or dips, while dry climates can cause fast shrinking. Being ready for curveballs helps keep the project on track. Communication and flexibility go a long way during these phases.
Handling Unexpected Subfloor Issues
Sometimes, a beautiful hardwood floor depends on what’s beneath it. Subfloor rot, mold, or weak spots may not be visible until demolition begins. If something is wrong, your installer will need to pause and discuss the options with you. Resolving these issues typically incurs additional time and expense. It’s better to address them early than risk a failed floor later. Budgeting a little extra for these surprises is always a good idea.
Managing Dust, Noise, and Home Disruption
Hardwood installation isn’t quiet or clean. Sawing and sanding create fine dust, and nail guns make sharp, loud bursts. Seal off nearby rooms with plastic or painter’s tape to limit the spreading of the contamination. Keep kids and pets away from the workspace to avoid accidents. If you work remotely, consider headphones or spending the day elsewhere. Knowing the timeline helps you plan around the mess.
Weather and Humidity Factors
Humidity affects hardwood more than most people think. Wood expands in moist air and shrinks when it’s dry. Seasonal changes can warp or crack boards if moisture isn’t controlled. Keep indoor humidity between 35% and 55% before, during, and after the job. A portable humidifier or dehumidifier can help. Timing your installation during mild seasons avoids climate-related delays.
Completing the Hardwood Flooring Installation Phase
The work doesn’t end when the crew packs up their tools. A good installer will walk through the space and inspect every detail. After that, you’ll need to treat your floor with care for the first few days. These steps protect your investment and extend the life of your floors.
Inspection and Final Walkthrough
Before the crew leaves, they’ll inspect their work closely. They’ll check for tight seams, proper trim, and smooth transitions. You should walk with them, ask questions, and point out anything that appears to be out of place. Minor gaps or blemishes can often be fixed on the spot. If you’re happy, you’ll sign off on the job. If not, now is the time to speak up.

What You Can and Can’t Do in the Next 48 Hours
New hardwood floors need time to settle. Avoid walking on them for at least 24 hours. Wait 48 hours before moving furniture back in. Don’t drag anything. Instead, lift and place things carefully to avoid scratches. Keep the space well-ventilated, but avoid making it overly humid or dry. Following these steps helps the boards lock in and remain stable.
Basic Maintenance From Day One
Cleaning starts as soon as the floor is installed. Use a soft broom or dry microfiber mop; don’t use wet mops. Wipe spills right away to avoid staining or swelling. Avoid high heels or pet claws that can dent the surface. Throw rugs can protect high-traffic zones. Stick to a weekly cleaning routine and avoid harsh chemicals.
How Your Choices Impact Hardwood Flooring Installation
The outcome of your hardwood flooring installation doesn’t start with tools. It begins with what you choose before anyone shows up. Your decisions impact the timeline, budget, and, ultimately, the performance of your floor over time. Knowing these effects helps avoid surprises and aligns results with your expectations.
How Wood Species Affect Installation and Durability
Wood type shapes how the installation process plays out. Denser species, such as hickory and oak, take longer to cut and install. Softer species, such as walnuts, install faster but dent more easily under pressure. Some woods react better to humidity changes, while others need strict moisture control. If your home experiences heavy foot traffic or fluctuating temperatures, the wrong choice can wear out more quickly. Choose beyond looks. Factor in your home’s specific conditions and the level of maintenance you’re willing to commit to.
Board Width, Grain, and Finish Affect Installation Flow
The look of the boards also changes how the job unfolds. Wide planks cover more ground but expand more in humidity. Narrow planks offer tighter seams and greater stability but take longer to install. Boards with smooth, straight grain often hide dust better and install cleaner than rough or varied patterns. Prefinished boards speed up the installation and reduce smell, while site-finished floors offer a seamless, tailored look. These decisions impact both the appearance of your floor and the smoothness of the work’s progress.
Hardwood Flooring Installation in Old vs. New Homes
Installation challenges vary depending on the age of your home. Older homes often hide uneven subfloors, water damage, or surprise materials like asbestos tiles. New homes offer cleaner starts but may still have moisture issues or unfinished conditions. Each type requires different prep work and scheduling expectations:
What to Expect in Older Homes During Installation
Older homes tend to come with quirks. Subfloors may be uneven, soft, or even layered with past flooring. Installers often need to level, reinforce, or remove hidden materials. They might also run into odd transitions between rooms or non-standard layouts. Jobs in older homes usually take longer and cost more. Preparing for extra steps prevents frustration and delays.
Installation Conditions in Newer Homes
A newer home brings fewer unknowns, but that doesn’t mean there’s no preparation. Subfloors still need to be checked for level and moisture, especially in basements or over concrete. Framing or HVAC systems may still be settling, which can affect humidity and stability. Site schedules may overlap with those of other contractors if the home is still under construction. Still, the clean slate often allows for a faster, smoother installation timeline. Communication with your builder or project manager helps prevent setbacks.
Why Ventilation Matters in Hardwood Flooring Installation
Hardwood flooring installation doesn’t just depend on tools and timing; it also requires expertise and precision. Your home’s airflow plays a quiet but crucial role in how well the floor settles and remains stable. Poor ventilation during and after installation leads to warping, uneven drying, and adhesive failure. Ignoring this detail shortens your floor’s lifespan, regardless of the quality of the wood or the installer.
Why Air Movement Matters More Than You Think
When airflow is blocked or restricted, moisture builds up in corners, underboards, or near walls. During installation, this moisture can stop adhesives from curing properly or cause boards to expand unevenly. Even nail-down installations suffer if the indoor air isn’t moving and balanced. If your home uses a forced-air heating, ventilation, and air conditioning (HVAC) system, keep the vents open and running. If you rely on passive airflow, use portable fans during and after the job. Balanced air circulation supports consistent drying, board stability, and finish curing.
How to Manage Airflow Before, During, and After Installation
Start by keeping your HVAC system running at its usual settings. Set fans to circulate air, but avoid blasting cold or hot air directly onto the flooring. If windows are open, use screens to prevent debris from entering and affecting the adhesive or finish. During installation, ask your installer if any airflow adjustments are necessary based on the method used. Afterward, continue ventilating the space for several days while the floor settles. Avoid sealing off rooms or shutting vents; your floor needs time to adjust in a balanced environment.
Start Your Hardwood Flooring Installation With Confidence
An excellent hardwood flooring installation doesn’t happen by luck. It comes from knowing what’s coming, asking the right questions, and choosing craftsmanship over shortcuts. If you’ve made it this far, you’re not just chasing a better-looking floor; you’re planning for a better home. The next move isn’t about price or color; it’s about starting with a crew that gets it right the first time.
Visit the Hardwood Galleria Design Center blog for trusted insights, competent flooring advice, and fresh ideas tailored to your space. While you’re there, check out our specials.

